How to Open a Savings Account: In 5 Easy Steps
Open a savings account in India in 5 simple steps. Learn about documents required, video KYC, zero-balance accounts, UPI setup, and charges to watch out for.


Want to open a savings account in India? You can do it in just 5 steps — either online from your phone or by visiting a bank branch. All you need is your Aadhaar, PAN card, and a few minutes.
A savings account lets you keep your money safe in a bank, earn interest on your balance, and access digital banking features like UPI, net banking, and debit cards. Whether you're a student, salaried professional, or homemaker — a savings account is the first step towards managing your money better.
This guide walks you through every step — documents needed, how to apply online or offline, charges to watch out for, and tips to keep your account safe.
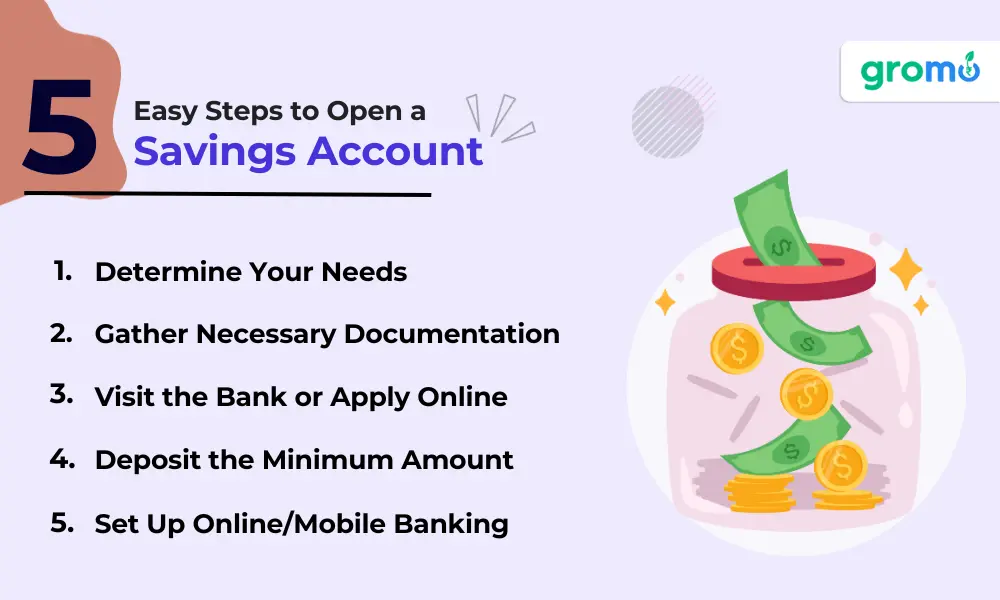
📌 Quick Summary: How to Open a Savings Account
- Choose the right bank and account type
- Keep your documents ready (Aadhaar + PAN)
- Apply online (video KYC) or visit a branch
- Make the initial deposit (if required)
- Set up mobile banking, UPI, and transaction alerts
What is a savings account? A savings account is a basic bank account where you can deposit money, earn interest, and withdraw funds when needed. Banks in India offer savings accounts with features like debit cards, UPI access, net banking, and SMS alerts. Interest rates and minimum balance requirements vary by bank.
Key Takeaways
- You can open a savings account online (with video KYC) or at a bank branch — both are valid
- Documents needed: Aadhaar card, PAN card, passport-size photos, and address proof
- Many banks now offer zero-balance or basic savings accounts with no minimum balance
- After opening, link your account to UPI (Google Pay, PhonePe, etc.) for easy transactions
- Always enable SMS and email alerts to track every transaction
- Minimum balance requirements, charges, and interest rates vary by bank — always check before choosing
- Senior citizens, students, and women often get special savings account benefits
Online vs Branch: Which Way Should You Open Your Account?
| Feature | Online (Video KYC) | Bank Branch (In-Person) |
|---|---|---|
| Time to open | 15–30 minutes | 1–2 hours (plus travel) |
| Documents | Aadhaar, PAN (uploaded digitally) | Physical copies of Aadhaar, PAN, photos |
| KYC process | Video call with bank executive | In-person verification |
| Best for | Tech-savvy users, remote areas | People who prefer face-to-face help |
| Account activation | Usually same day or next day | Same day to 2–3 days |
| Debit card | Mailed to your address | Sometimes given on the spot |
5 Steps to Open a Savings Account in India
Opening a savings account is simple. Here's how to do it — whether you go to a bank branch or apply online from home.
Step 1: Choose the Right Bank and Account Type
Before you fill any form, figure out what you actually need. Not every savings account is the same — different banks offer different features, charges, and benefits.
Ask yourself:
- Do I need a zero-balance account or can I maintain a minimum balance?
- Do I want a bank with a branch near me, or is a digital-only bank fine?
- Will I use this account mainly for UPI, salary, or general savings?
Types of savings accounts in India:
- Regular Savings Account — Standard account with minimum balance requirement (varies by bank, typically ₹500 to ₹10,000)
- Zero-Balance / Basic Savings Account (BSBD) — No minimum balance needed. Great for first-time account holders
- Salary Account — Opened through your employer. Usually zero balance with extra perks
- Student Savings Account — For students, often with lower minimum balance and age-based limits
- Senior Citizen Savings Account — Higher interest rates for people above 60 years
- Digital Savings Account — Opened fully online. Offered by banks like Kotak 811, Jupiter, Fi, etc.
- Women's Savings Account — Some banks offer special interest rates or benefits for women
What to compare:
- Interest rate (check bank's latest rate — it changes)
- Minimum balance requirement and penalty for not maintaining it
- Free ATM withdrawals per month
- Debit card annual fee (if any)
- Net banking and mobile app quality
→ Best Banks for Savings Account in India
Step 2: Keep Your Documents Ready
For opening a savings account in India, you'll need these documents. Keep them handy before you start the application.
Documents required (India):
| Document | Purpose | Required? |
|---|---|---|
| Aadhaar Card | Identity + Address proof | ✅ Yes (mandatory for KYC) |
| PAN Card | Tax identity verification | ✅ Yes (mandatory above ₹50,000 deposit) |
| Passport-size Photos | For application form | ✅ Yes (1–2 photos for branch opening) |
| Voter ID / Passport / Driving Licence | Additional address proof (if Aadhaar address differs) | Sometimes |
| Utility Bill | Address proof (electricity, gas, water) | Sometimes |
| Income Proof / Salary Slip | For salary accounts or premium accounts | Only if required |
Tips:
- Make sure your Aadhaar is linked to your mobile number — this is needed for e-KYC and video KYC
- If you're opening an account for a minor (below 18), a parent or guardian's documents are also needed
- Keep scanned copies or clear photos of all documents on your phone — useful for online applications
Step 3: Apply Online or Visit a Bank Branch
You have two options — apply from your phone/laptop or walk into the nearest bank branch. Both work perfectly fine.
Option A: Open Savings Account Online (Recommended)
Most banks in India now let you open a savings account online with video KYC. Here's how:
- Go to the bank's official website or download their mobile app
- Click on "Open Savings Account" or similar option
- Enter your details — name, mobile number, email, date of birth
- Upload your Aadhaar and PAN card (photo or scanned copy)
- Complete video KYC — a short video call with the bank's executive to verify your identity
- E-sign the application using Aadhaar OTP
- Done! Your account number is usually generated within a few hours
Your debit card and welcome kit will be couriered to your address.
Option B: Visit a Bank Branch (Offline)
If you prefer in-person help:
- Find the nearest branch of the bank you've chosen
- Ask for a savings account opening form
- Fill the form with your personal details (name, address, occupation, nominee, etc.)
- Attach self-attested copies of Aadhaar, PAN, and passport-size photos
- Submit the form to the bank executive
- The bank will verify your documents (in-person KYC)
- You may receive your account number, passbook, and cheque book on the same day
- Debit card is usually mailed within 5–7 working days
Pro tip: Whether online or offline, always double-check the account type you're opening. Ask about minimum balance, charges, and included features before signing.
→ What is UPI ID and How to Create One
Step 4: Make the Initial Deposit (If Required)
Some banks ask for an initial deposit when you open the account. This amount varies:
- Public sector banks (SBI, PNB, BOB): Initial deposit can be as low as ₹500 to ₹1,000
- Private banks (HDFC, ICICI, Axis): May require ₹5,000 to ₹10,000 depending on the account type
- Zero-balance / BSBD accounts: No initial deposit required
- Digital banks: Many have zero or very low initial deposit requirements
How to make the deposit:
- At the branch: Cash or cheque
- Online: Transfer from another bank account via NEFT, IMPS, or UPI
About minimum balance:
After opening, many accounts require you to maintain a minimum monthly average balance (MAB). If your balance drops below this, the bank may charge a penalty. This varies by bank and account type — always ask upfront.
If you don't want to worry about minimum balance, go for a zero-balance savings account or a basic savings bank deposit (BSBD) account. Every bank is required by RBI to offer a BSBD account.
→ How to Open a Demat Account Online
Step 5: Set Up Mobile Banking, UPI, and Alerts
Your account is open — but don't stop here. Setting up digital banking is just as important.
1. Register for Mobile Banking and Net Banking
- Download your bank's official app from Google Play Store or Apple App Store
- Register using your account number or registered mobile number
- Set your login PIN or password
- You can now check balance, transfer money, pay bills, and manage your account from your phone
2. Link Your Account to UPI
UPI (Unified Payments Interface) lets you send and receive money instantly using apps like Google Pay, PhonePe, Paytm, or your bank's own app.
- Open any UPI app → Add your bank → Verify with SMS → Set UPI PIN → Done
- You'll need your debit card details (card number + expiry) to set the UPI PIN for the first time
3. Activate Your Debit Card
- Once you receive your debit card, activate it through the bank app, ATM, or by calling customer care
- Set your ATM PIN immediately
- Check your free ATM withdrawal limit (usually 3–5 free transactions per month at other bank ATMs, as per RBI rules)
4. Enable Alerts (Very Important)
- Turn on SMS alerts for every transaction — most banks charge ₹15–25 per quarter for this
- Enable email alerts as well
- Set up balance alerts — get notified if your balance drops below a certain amount
- Push notifications from the bank app are free — enable them
→ Benefits of Becoming a GroMo Partner
Safety Tips for Your Savings Account
Your money is in the bank — but you still need to be careful. Here are simple tips to keep your savings account safe:
- Never share your OTP, UPI PIN, or CVV with anyone — not even someone claiming to be from the bank
- Don't click on links in SMS or WhatsApp asking you to "verify" your bank account
- Use strong passwords for net banking and mobile banking — avoid birthday or 1234-type PINs
- Log out of net banking after every session, especially on shared devices
- Keep your registered mobile number active — banks send OTPs and alerts to this number
- Review your account statement at least once a month for any unknown transactions
- Report fraud immediately — call your bank's helpline and dial 1930 (national cyber crime helpline)
- Don't install screen-sharing apps (AnyDesk, TeamViewer) when asked by strangers
Charges and Things to Watch
Savings account charges depend on the bank and account type. Here's what to keep in mind:
| Charge Type | What to Expect |
|---|---|
| Minimum balance penalty | ₹100 to ₹600+ per quarter if balance is below required level (varies by bank) |
| Debit card annual fee | Free to ₹500/year depending on card type |
| SMS alert charges | ₹15–25 per quarter (most banks) |
| ATM withdrawal (other bank) | 3–5 free per month (RBI rule), then ₹20–21 per transaction |
| Cheque book | First book usually free, charges after that |
| NEFT/IMPS/UPI | Usually free for savings account holders (check bank's latest policy) |
| Account closing charges | ₹300–500 if closed within 1 year of opening (varies by bank) |
Note: These charges change from time to time. Always check your bank's latest schedule of charges before opening an account.
Types of Savings Accounts in India
Not sure which type suits you? Here's a quick overview:
Regular Savings Account: The most common type. Requires minimum balance. Comes with debit card, cheque book, net banking, and UPI access.
Zero-Balance / Basic Savings Bank Deposit (BSBD) Account: No minimum balance required. RBI mandates every bank to offer this. May have limits on number of withdrawals or deposits per month.
Salary Account: Opened through your employer. Zero balance as long as salary is credited. Converts to a regular account if salary stops for a few months.
Student Savings Account: For school and college students. Lower or zero minimum balance. Some banks offer it for ages 10–18 with a parent as guardian.
Senior Citizen Savings Account: For people aged 60 and above. Typically offers 0.25%–0.50% higher interest rate than regular accounts.
Digital Savings Account: Opened 100% online. Offered by banks like Kotak 811, Airtel Payments Bank, Jupiter, Fi. Great for people comfortable with app-based banking.
Women's Savings Account: Some banks like ICICI, Axis offer special savings accounts with benefits tailored for women — like lower minimum balance or cashback offers.
→ Savings Account: Best Banks for Savings Account in India
FAQs: Opening a Savings Account in India
Q1. What documents are needed to open a savings account in India?
You need an Aadhaar card, PAN card, and 1–2 passport-size photographs. Some banks may also ask for a utility bill or voter ID as additional address proof. Make sure your Aadhaar is linked to your mobile number for e-KYC.
Q2. Can I open a savings account online?
Yes, most banks in India now allow you to open a savings account online through their website or mobile app. The process includes filling a form, uploading documents, and completing video KYC. Your account can be active within a few hours.
Q3. What is the minimum balance for a savings account?
It depends on the bank. Public sector banks may require ₹500–₹1,000, while private banks may need ₹5,000–₹10,000. Zero-balance accounts (BSBD accounts) have no minimum balance requirement.
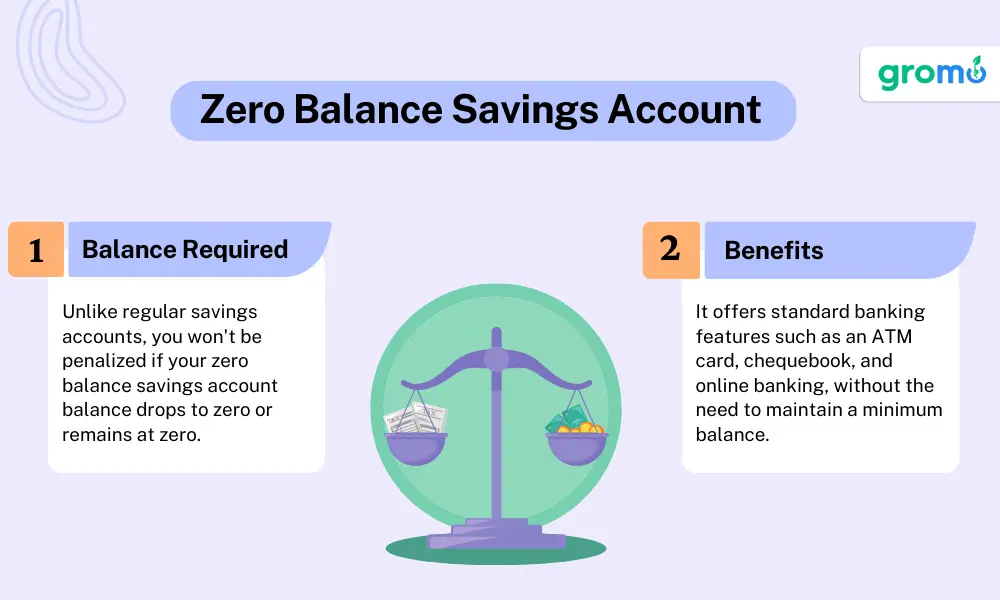
Q4. What is a zero-balance savings account?
A zero-balance savings account (also called BSBD — Basic Savings Bank Deposit account) lets you maintain a nil balance without any penalty. RBI requires every bank to offer this. However, these accounts may have limits on monthly transactions.
Q5. How much interest do savings accounts earn?
Interest rates vary by bank and change over time. Generally, Indian banks offer interest in the range of 2.5% to 7% per annum on savings accounts. Digital banks and small finance banks may offer higher rates. Always check the bank's website for the latest rate.
Q6. Can I open a savings account without PAN card?
You can open a basic savings account without PAN, but it will have restrictions — like a cap on the total balance (usually ₹50,000) and limits on transactions. For a full-featured account, PAN card is mandatory.
Q7. How long does it take to open a savings account?
Online with video KYC: 15–30 minutes. At a bank branch: 1–2 hours (plus document processing time of 1–3 days for debit card and cheque book).
Q8. What is video KYC?
Video KYC is a process where a bank executive verifies your identity over a video call. You show your Aadhaar, PAN, and face on camera. It replaces the need to visit a branch in person.
Q9. Can I open a savings account for my child?
Yes, most banks in India allow you to open a minor's savings account for children. A parent or guardian must be a joint holder. The child's Aadhaar and birth certificate are usually required.
Q10. Can I have savings accounts in multiple banks?
Yes, there is no limit on how many savings accounts you can have in India. However, maintaining multiple accounts means keeping track of minimum balance requirements for each.
Q11. Is my money safe in a savings account?
Yes. Deposits in Indian banks are insured by DICGC (Deposit Insurance and Credit Guarantee Corporation) up to ₹5 lakh per depositor per bank. This covers both principal and interest.
Q12. What is the difference between savings account and current account?
A savings account is for individuals who want to save money and earn interest. A current account is for businesses and has no interest but allows unlimited transactions. Savings accounts have withdrawal limits; current accounts don't.
Q13. How do I link my savings account to UPI?
Download a UPI app (Google Pay, PhonePe, Paytm), add your bank account using your registered mobile number, verify via SMS, and set your UPI PIN using your debit card details.
Q14. What should I do if I notice an unauthorized transaction?
Immediately call your bank's customer care to block your account/card. Report the issue within 3 days to improve your chances of a refund under RBI guidelines. Also file a complaint on the national cyber crime portal (cybercrime.gov.in) or call 1930.
Related Articles You Might Find Useful
- Savings Account: Best Banks for Savings Account in India
- What is UPI ID: How to Create and Find UPI ID?
- How to Open Demat Account Online: In 7 Easy Steps
- GroMo Partner: Benefits of Becoming a GroMo Partner
Opening a savings account is one of the simplest and smartest things you can do with your money. Whether you're opening your first account or helping a family member open theirs, the process is straightforward — especially with online banking and video KYC options available today.
Pick the right bank, keep your documents ready, and you'll be done in no time.
Earn by helping others open savings accounts and other financial products.
Final Checklist Before You Open Your Savings Account
✅ Decided on a bank and account type
✅ Aadhaar card (linked to mobile number)
✅ PAN card
✅ Passport-size photos (for branch visit)
✅ Initial deposit amount ready (if applicable)
✅ Mobile phone for OTP verification and UPI setup
✅ Downloaded bank's mobile app
✅ Enabled SMS and email alerts
✅ Set UPI PIN and activated debit card
✅ Noted down customer care number for emergencies


